Table of Contents
Battery for Game Boy Advance SP.
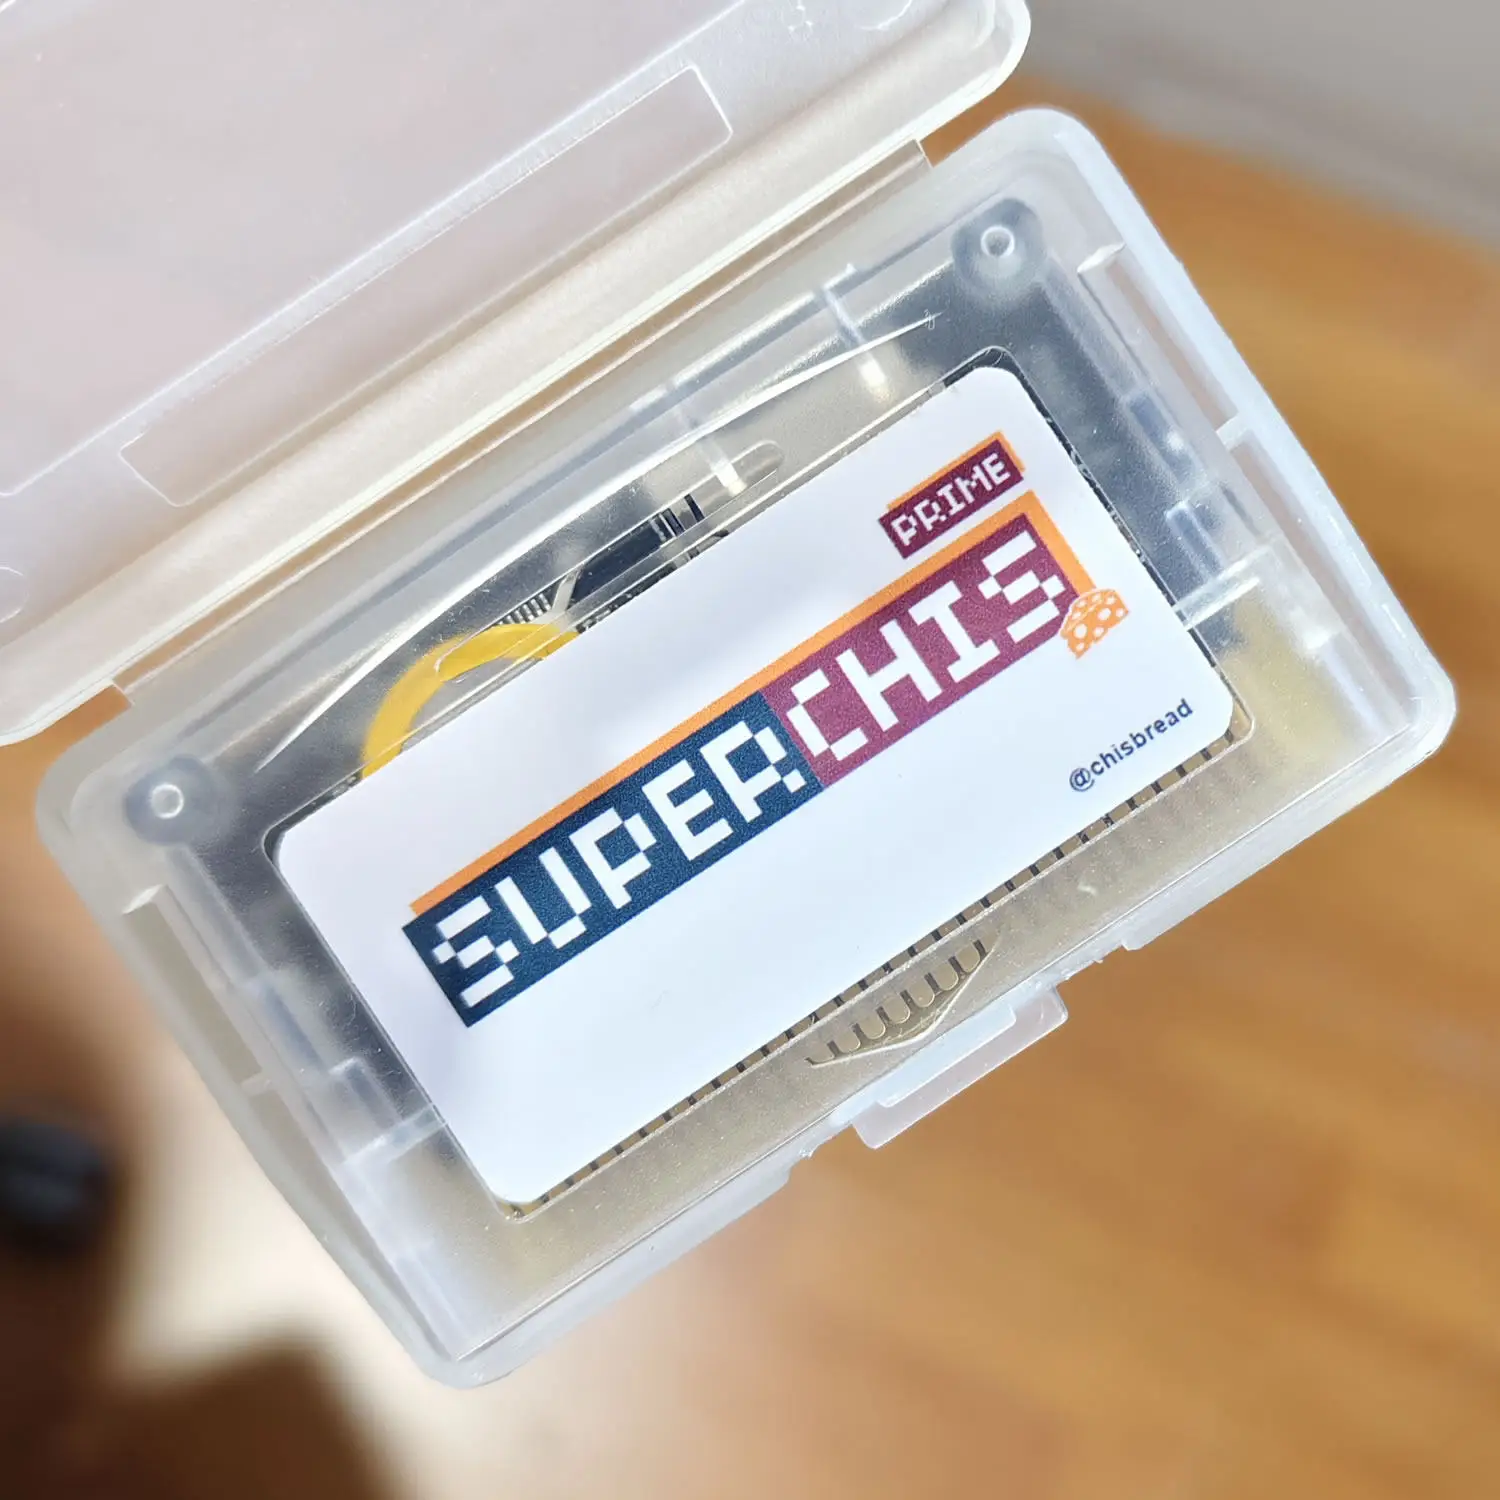
Friends, there’s a new article on the site: EZ-Flash Air Review: Features, Limitations, and Comparison with Other Models.
ChisLink - a revolution in the GBA world.
Friends, AliExpress now has:
Cool metal labels for Game Boy Advance consoles. Important: the OMEGA series will no longer be produced — it is being replaced in the lineup by the EZ-Flash Air.
Cool eXtremeRate cases for GBA SP.
Friends, help me buy (if you have) various old stuff: Help me buy.
Sooner or later, your Game Boy Advance SP battery will wear out. And you will start looking for a replacement. You might happily order a green battery from AliExpress and regret it, despite the claims of 850 mAh capacity, as real tests show it to be around 200-300 mAh, which might even be worse than your old battery.
What is this mod?
There is a great battery mod that I found in this video.
I tested the battery, and it matches the stated capacity and lasted more than 10 hours with the game running on the screen (though I wasn't playing, just left the game on the start screen with animations running).
It charges normally and doesn't require any modifications to the Game Boy Advance SP's structure.
If you have a plastic original battery and can't replace its internals, you can buy a base and modify it: Purchased battery for Game Boy Advance SP.
What to buy?
Contact plates that can be ordered from oshpark.com
And the battery itself.
Note that 603048 is the battery size! You might be offered cheaper ones that look the same or have higher capacity, but you need exactly 603048! (You can get a smaller one, but it will be loose and have less capacity).
The most problematic part of this mod is waiting for everything to arrive. It usually takes 2-3 months.
So, you have the plates and the battery:

Now you can start assembling.
Assembly
Let's start assembling and mounting it in place:
Step 1.
You need to separate one plate from the other.

Step 2.
As you can see, the plates have protruding parts that connect them. To fit the plate into the Game Boy Advance SP, you need to file it down and remove all protruding parts.

Step 3.
Take the battery and shorten the red wire and lengthen the black wire. I can't say exactly how much you need to cut in centimeters, but the wire length should be enough to reach the contact pad and no more. In any case, don't cut them too short, but trim them gradually to avoid cutting too much.
I roughly showed in the photo how much to cut.

Step 4.
Solder the plate to the battery. The hardest part here is soldering the red wire. It's a bit awkward, and you might need tweezers, but it's not extremely difficult, just slightly inconvenient.
Here's the result:

Step 5.
Pack everything in place. Press the plate against the contacts, and simply place the battery inside.

Step 6.
Screw the battery compartment cover back on.